I spent some time mocking up a case for the lights. I’m not totally happy with the side panels yet (more on that later), but a quick walk through the process:
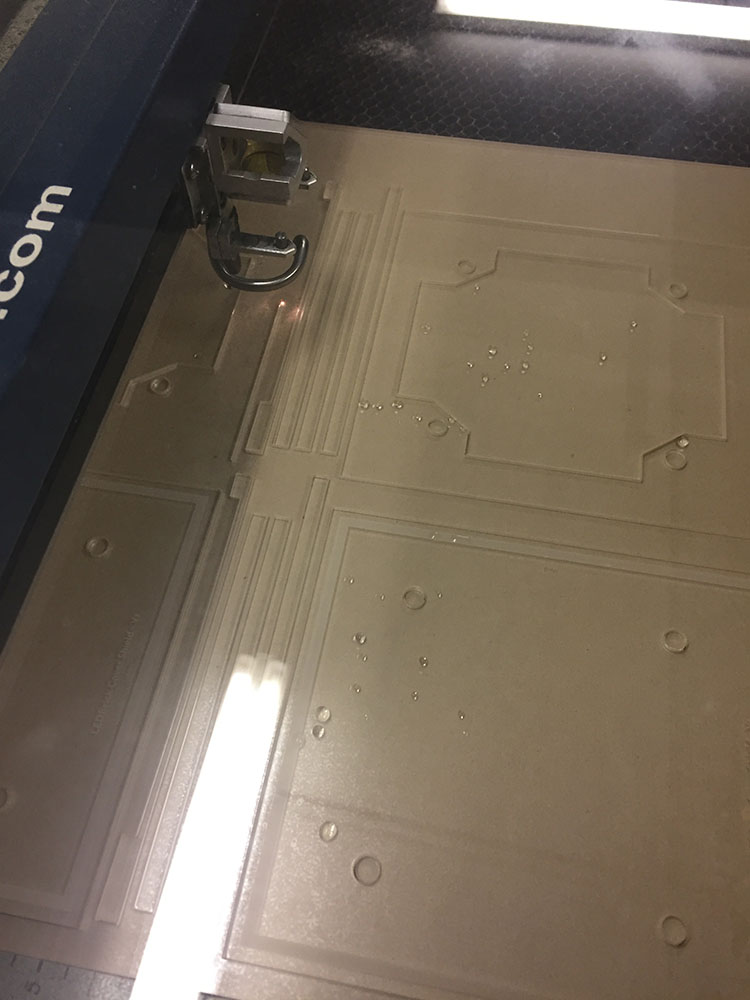
All of the acrylic pieces are laser cut on an Epilog Mini 24, from 1/8" cell cast acrylic.
Cutting the clear pieces on the laser. Note that the errant water is from the air assist system condensing the high humidity from the rain that has been passing through the area - I need to fix this but usually isn’t a problem using the vector cutting mode.
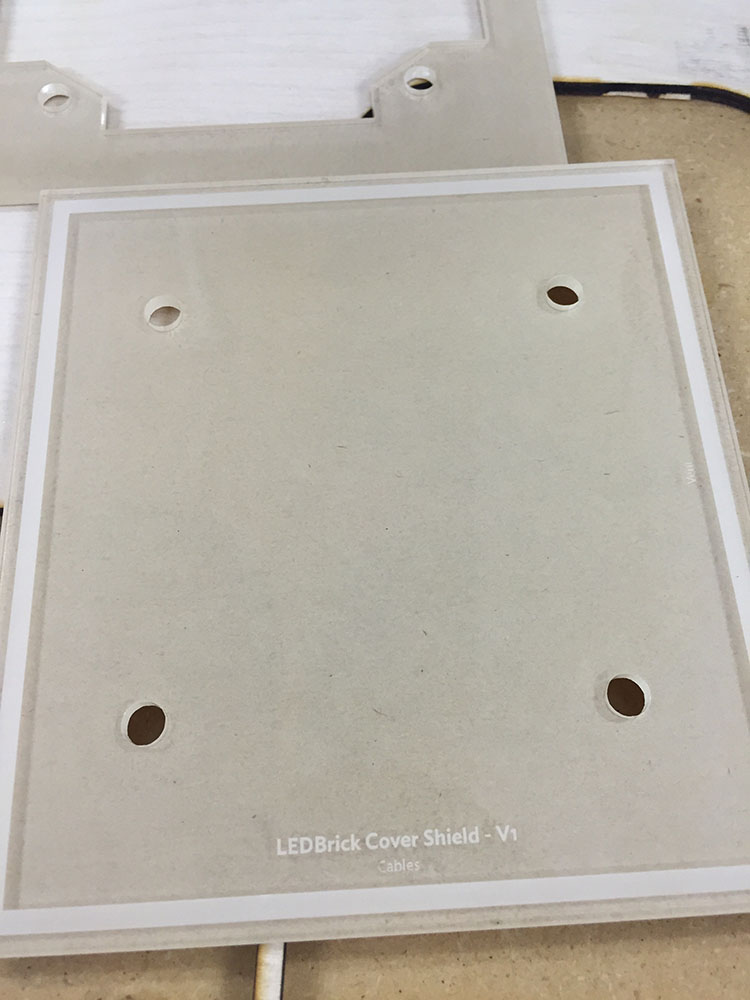
The raw bits after cutting. The thinnest piece warped a bit from the cutting heat, which may need to be re-designed.
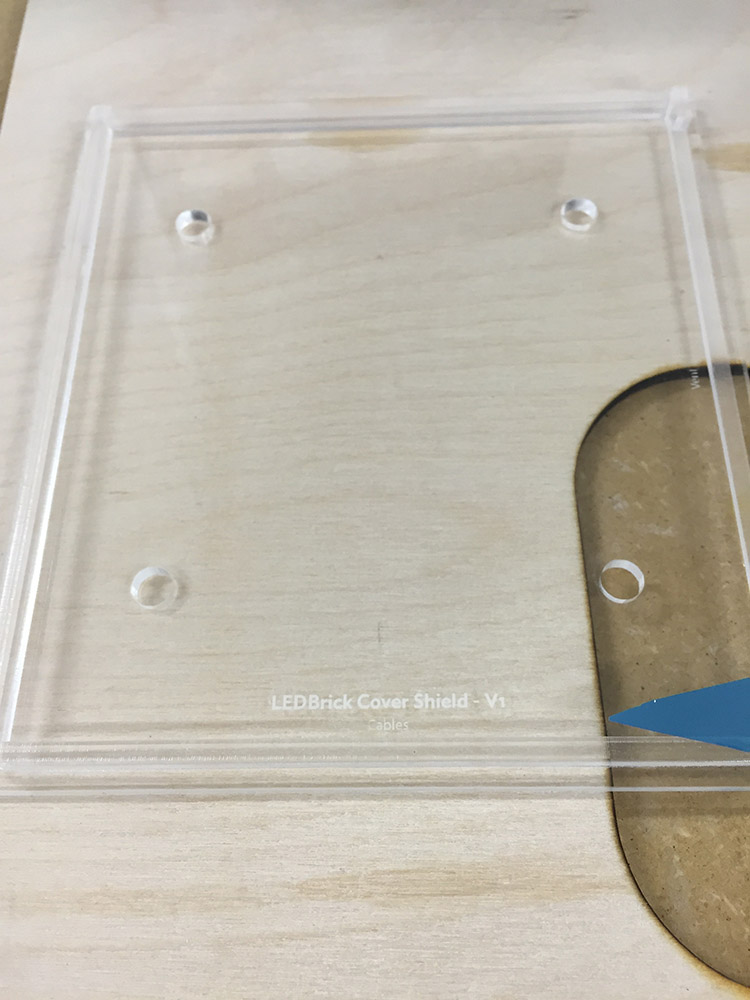
I designed the upper shroud to rest on the bottom panel, which is attached through the 80mm fan mount footprint on the threaded rods via M4 screws. In order to keep everything squared away, I made an inner lip (3mm inset) for the shroud to rest on. The little spacers in the below image are glued in place - the engraving is to provide a nice visual guide of where to place them.
(Not pictured: cutting the side panels)
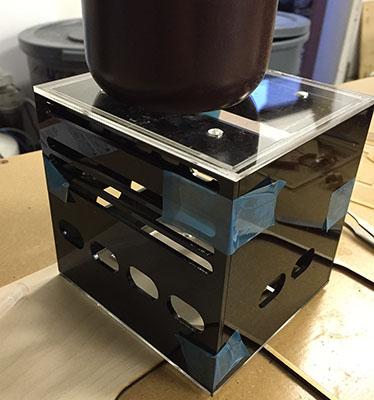
The basic box structure of the light cover. Far too many large holes and not optimized airflow. Also a smidgen too tall (which you’ll see later). I’m redesigning these panels.

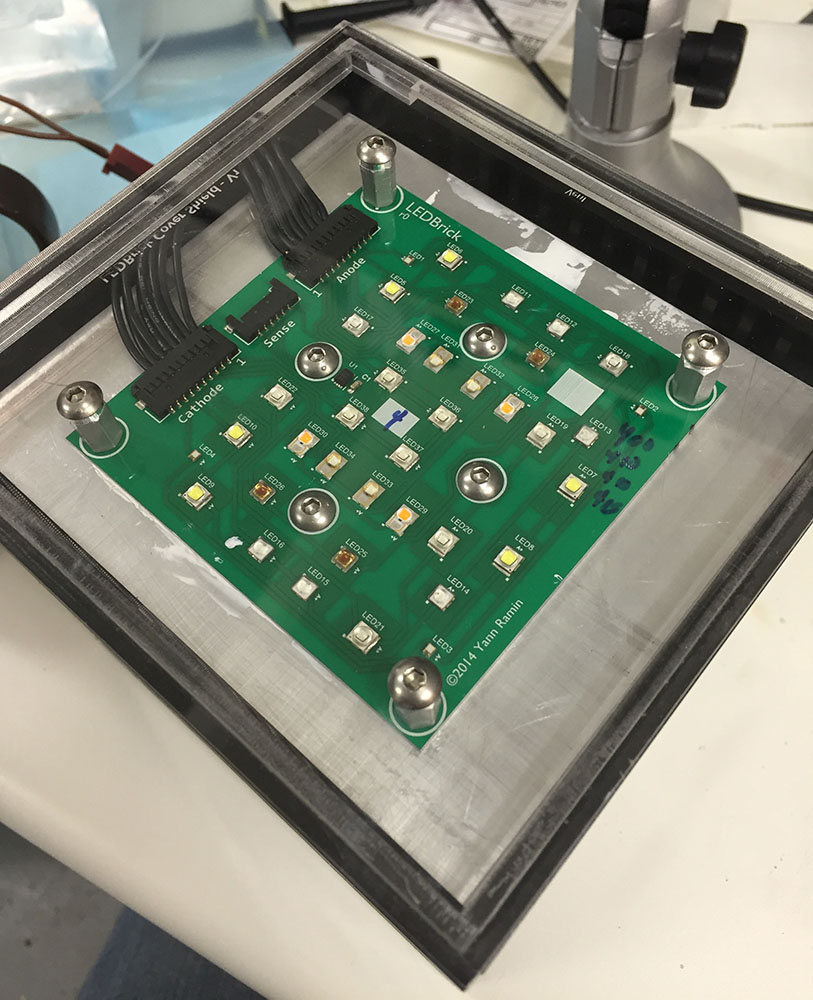
The finish product from above. See what I said about a smidgen too tall? :)

A detail side shot:
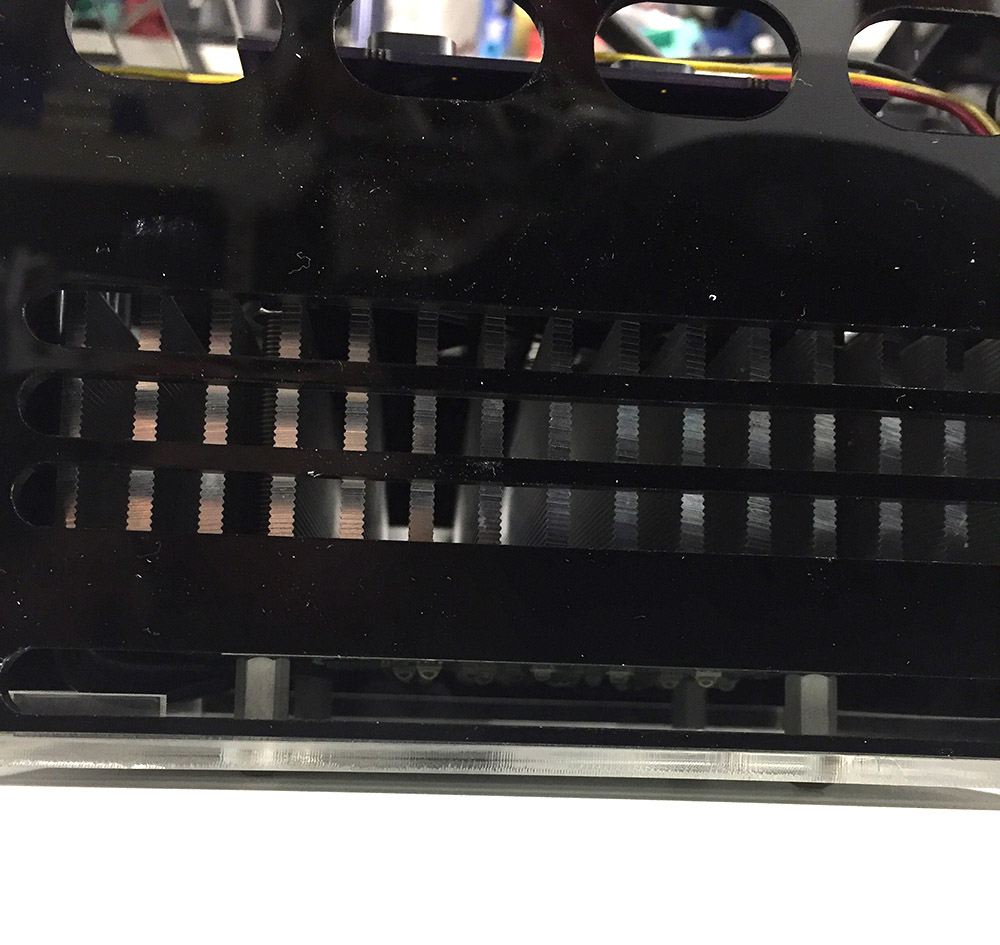
You’ll notice that this is asymmetric - the idea was to port some of the air from the downward firing fan across the surface of the LEDs, which isn’t super optimal for an air path and isn’t well ducted, but appears to provide some actual flow.
The new LED cover from below: